Featured

One photo - three creative edits in Luminar Neo and Photoshop

 Creating Three Moody Images out of One Shot I initially didn't plan to create three or more different images out of this photograph. I wanted to see how I can edit this foggy somehow chaotic forest image in Luminar Neo. I liked the atmosphere and I can still recall the morning I took this photo. I knew I had to make a lot of chnages , because of all the distracting twigs on the left and right hand side as well as at the top of the frame. First Step - Editing in Luminar Neo I usually develop my images in Lightroom Classic  but decided to use Luminar Neo this time because I wanted to see how their various creative in part AI powered tools inspire me. Basic edits were quickly done. I usually start with Luminar's Enhance AI, I found this tool often leads to considerable improvements to build upon. I then moved to the Develop section to make further basic adjustments such as exposure, highlights, shadows, contrast and so on until I am satisfied.  As this image has almost no colour

moody morning- applying textures to a misty landscape - updated 2019 -


Hello

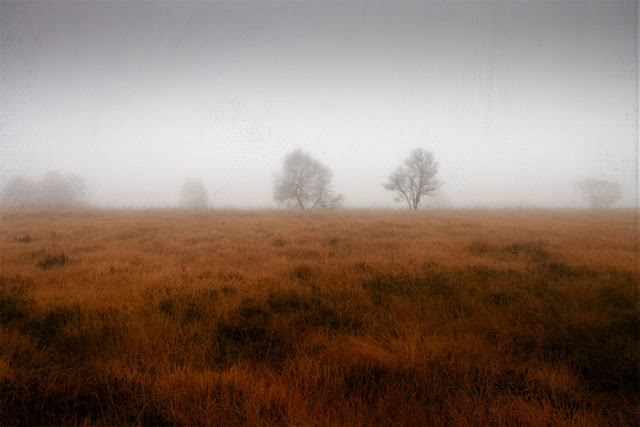
I love misty and sunny mornings - there is always something going on with the light and one has to be very quick to get the right shots. The photo I am going to write about was taken a few weeks back on such a morning. I was looking out of the window and saw that clouds were still clinging to the trees on a nearby hill. Right outside my window the fog was gone and the sun began melting away the humidity. So I grabbed my camera and went out. After 15 minutes I was in the forest and it became more foggy with every step I took.

Here's the final result of my processing:

Please mouse over the image to see a before/after comparison

   Moody Morning


I wanted to use some of my new textures, but I had to take care, that they wouldn't overpower the softness of this misty scenery and the soft shapes of the trees.
I made only little changes concerning the tone of the picture. What I wanted to achieve was to make the empty bright space of the sky a little bit more interesting.

I added the birds using Photoshop's brush tool. You find free brushes all over the internet.


As usual I am providing a screenshot  of the layers in PS:


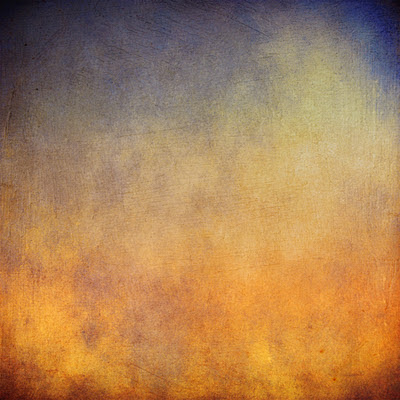
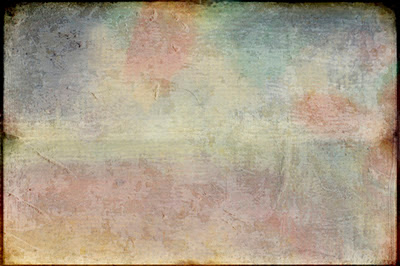
As you can see, I used two of my new textures:

evening mood


pastel pleasure
The slightly warmer tones and a very subtle texturing of the overall pic were achieved by the two layers of "evening mood". The textures in the sky and the frame can be ascribed to the "pastel pleasure" texture.
I had to use a layer mask to erase the lower part of the texture, because it affected the tone & texture of the trees. They also became too dark for my taste.

What's important to point out is:

- You can add interest to empty spaces (skies without clouds, fog etc.) by using textures. It depends on your individual taste whether you do it subtle or go for a more grungy look.

- Be aware, that you can easily overpower a picture with a texture. I always reduce the opacity in the course of my processing work.


Thanks for reading!

Have a great weekend!


Comments