Featured

One photo - three creative edits in Luminar Neo and Photoshop

 Creating Three Moody Images out of One Shot I initially didn't plan to create three or more different images out of this photograph. I wanted to see how I can edit this foggy somehow chaotic forest image in Luminar Neo. I liked the atmosphere and I can still recall the morning I took this photo. I knew I had to make a lot of chnages , because of all the distracting twigs on the left and right hand side as well as at the top of the frame. First Step - Editing in Luminar Neo I usually develop my images in Lightroom Classic  but decided to use Luminar Neo this time because I wanted to see how their various creative in part AI powered tools inspire me. Basic edits were quickly done. I usually start with Luminar's Enhance AI, I found this tool often leads to considerable improvements to build upon. I then moved to the Develop section to make further basic adjustments such as exposure, highlights, shadows, contrast and so on until I am satisfied.  As this image has almost no colour

Making of Forest Walk - Applying textures and adding a glow effect - Update 2019

Hello,
today I want to share how I processed an image that turned out to be quite nice, but on a second  look felt not good regarding its composition.

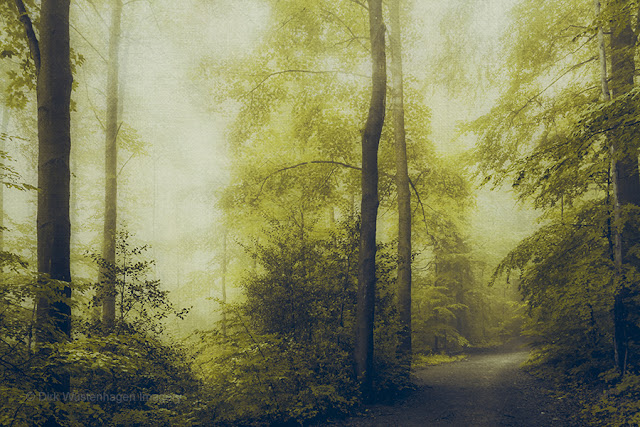
Here is the result that I like, but somehow knew wouldn't work

Forest Walk


The Processing

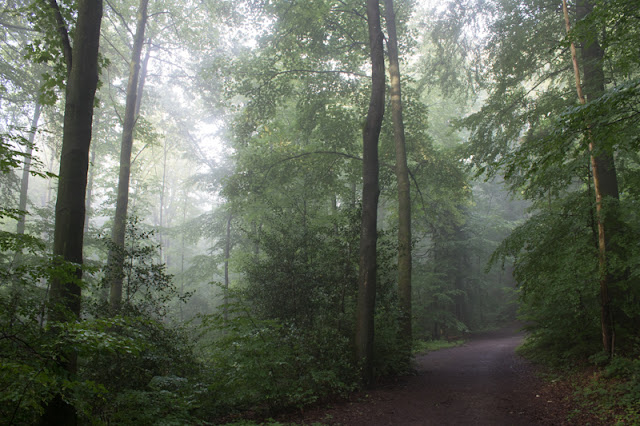
I used one of my Lightroom presets to do the basic processing. I usually tweak this preset to adapt it to the image.

unprocessed Original


I decided to apply what is called the  "Orton-effect" to get a dreamy soft glow. You can find my tutorial on this technique here--> How to create the Orton Effect 
However I am going to introduce a variation on this technique, that works equally well. Instead of over exposing a copy of the original I set a copy of the image to 50% Screen, that brightened the image while still keeping the Orton glow. With an original size of 6000px x 4000px a gaussian Blur setting of 60 to 90px is necessary to achieve the effect. I settled at 75px. Please take a look at the Layers copy.


Orton effect - before/after  - please move over the image to see the difference


I liked the overall tones and chose to apply  only two textures to achieve a subtle canvas texture effect


The green texture added additional green hues and made the image darker. I decided to lighten the image by adding a lighter more neutral texture and achieved this with blend mode "overlay". 

Take a look at the textures WHITEWALLS  and FLUTTER on my site.


Though I liked the processing, I wasn't satisfied with the image as a whole. Yesterday I came up with two different crops. Thus making two images out of one.

1. the one with the path as leading line


and 2. the part on the left, where the light is breaking through


What do you think? Do you sometimes face similar problems with your photos?


You'll fin my textures here--> TEXTURE PACKS

Thanks for your attention!

Comments