How to Replace a Sky with Luminar Neo
On different occasions I've taken photo in breathtaking landscape knowing that I later would have to do something about the sky when editing the shot.
That often meant spending hours in Photoshop to edit an image to get sky and atmosphere, colors and light right. And all this work is necessary although PS itself offers a sky replacement tool. Yes, it is capable most of the times to correctly select the sky and thus replace it is that selected space. But when it comes to refining the placement light, colors and more there is a lot missing. Or a lot manual work required.
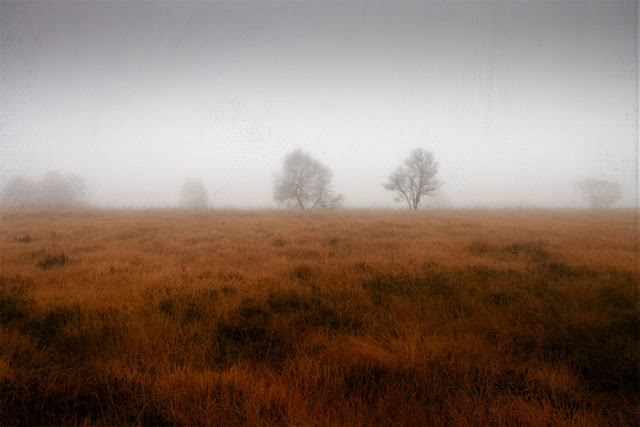
Luminar Neo makes it a lot easier to replace a sky with their AI powered tool. I've tried a bunch of different situations and was amazed how precisely the program could do its job. It is particularly difficult to fit in a sky in a bit hazy scenery such like the one you see above and I was impressed that it could differentiate between the hazy sky and the merely visible sea in the right hand corner of the image.
How does it work?
Preparing your image
- first chose an image and go to the EDIT page
- before I replace a sky I start with some basic edits. A good starting point is Luminar's Enhance AI Feature. I usually play around with the Accent slider, ignoring the Sky Enhancer, because I already decided to replace the one from my image.
Depending on colors, contrast and light of your photo you also might to go to the Develop module to make further necessary basic adjustments.
Replacing your Sky
The Sky AI tool is located at the top of the tools panel on the right side.
The feature analyses your photo and makes a selection of the sky in your image
Luminar provides a bunch of different Skies ranging from simple blue with clouds to dramatic weather situations, but also sunrise and sunset skies and even images of night skies with stars that you can choose from.You can also import your own custom skies or use the ones you have bought.
You simply choose and click on a sky you like in the drop down menu and Luminar does o work.
Sky Refinement Features
The AI detects the regions of the sky in your image and masks it (you can check the mask in the "Masking" Tab) and you might want to make some refinements to the mask yourself, but I found the selection most of the times very accurate.
I found the possibilities quite well thought out, even though I only used eventually a few of them.
Luminar Neo offers a range of sliders to refine the sky's placement, the horizon line, to fill gaps (e.g. missing parts of the sky and more).
I really like the possibility to work on the whole image to match it better to the sky.
This includes changes to the colors and also adding subtle reflections on water surfaces, as can be seen in this image:
I was even able to change an every day winter scene in my home street into a winter fairy tale scene with one of the night skies:
After replacing the sky I start with the edits to get my image further to look and feel I imagine for it. But this is something for another post.
If you want to give Luminar Neo a try follow this link
If you want to go directly to the Luminar Neo page click HERE
I am planning to do more posts on this software in the future, because I found it quite easy to start my creative edits here.
This text contains affiliate links.
Thanks for your attention.
Dirk


Thanks for sharing these ideas about using marble in interior design.
ReplyDeleteSwiss landscape design
Alpine gardens Switzerland
Scenic views Switzerland
Landscape architecture Zurich
Natural beauty Switzerland
Outdoor living spaces Switzerland
Sustainable landscaping Switzerland
Modern garden design Switzerland
Landscape contractors Switzerland
Mountain views real estate Switzerland