Featured

How To Replace A Sky With Luminar Neo

How to Replace a Sky with  Luminar Neo On different occasions I've taken photo in breathtaking landscape knowing that I later would have to do something about the sky when editing the shot.  That often meant spending hours in Photoshop to edit an image to get sky and atmosphere, colors and light right. And all this work is necessary although PS itself offers a sky replacement tool. Yes, it is capable most of the times to correctly select the sky and thus replace it is that selected space. But when it comes to refining the placement light, colors and more there is a lot missing. Or a lot manual work required.  Luminar Neo makes it a lot easier to replace a sky with their AI powered tool. I've tried a bunch of different situations and was amazed how precisely the program could do its job. It is particularly difficult to fit in a sky in a bit hazy scenery such like the one you see above and I was impressed that it could differentiate between the hazy sky and the merely visible sea

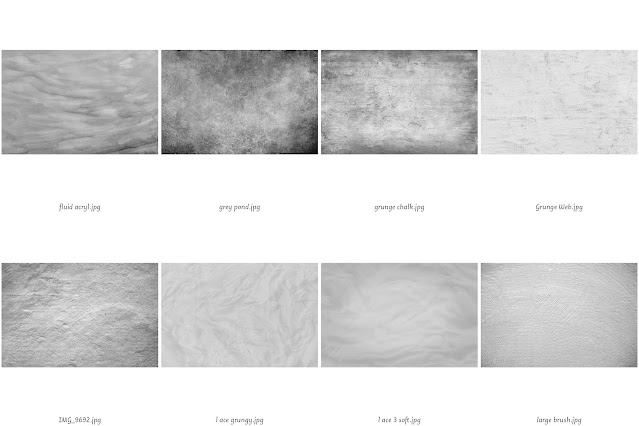
 New Set of 40 White - Grey Neutral Grunge Textures


If you want to add some interest and textures to your photos this is the texture pack for you. Add these without overly influencing your image's colours (at least not too much ;-) !


These are available on my website for 17,90 € --> HERE


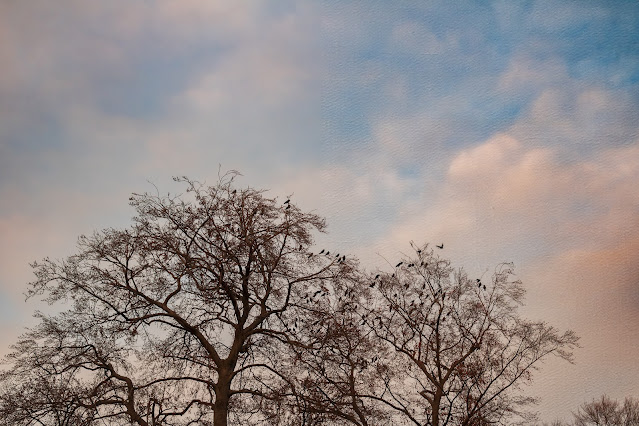
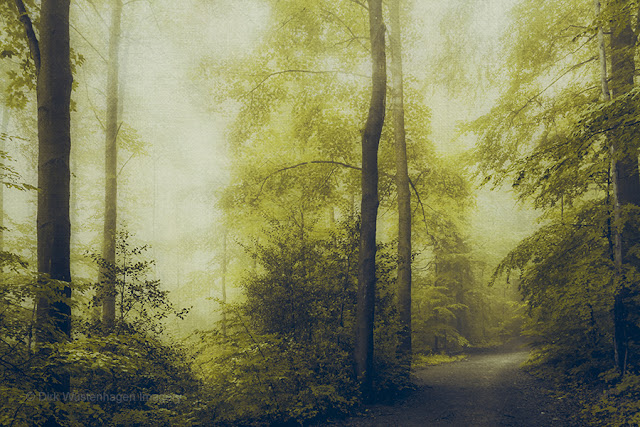
Here are some before/ after images of works where I used some of them.

Click on the image to see the difference:


Some tips for the use of these textures. 

Using these textures the usual way - meaning dragging the texture above your photo/ image (e..g. in Photoshop, Affinity Photo...) and applying a blend mode such as Multiply / Overlay or Soft Light should guarantee a decent result. 

Combine several textures on different layers to get an more intense texture effect. 
Vary the blend modes, e.g. combine Multiply on one texture with Overlay using a different texture. 

You might have to make some adjustment to colours, contrast and light.

As mentioned above they are designed to have a rather low impact on the colours of your designs. They also work great as neutral backgrounds. You can tint them by applying a Hue/Saturation layer and checking the "colorize" box.


Thanks for your visit.


Comments