Hello,
Today I'd like to show you one way to process a
vintage look by using textures. Furthermore I want to explain to you how I created an artificial
selective focus by using a Photoshop filter.
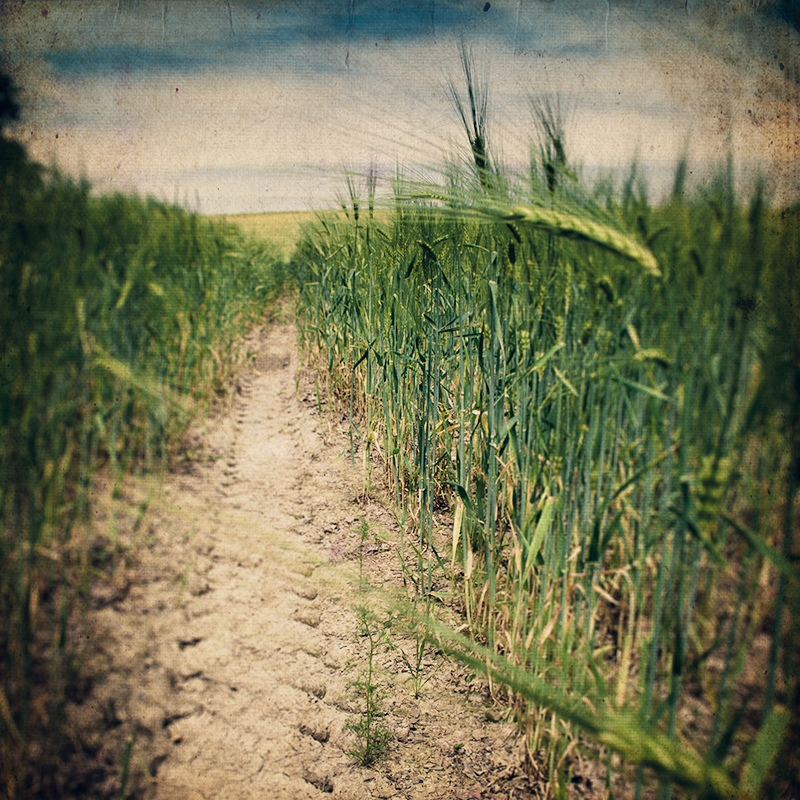
I came across a photo I took back in summer of a field of barley. I chose a low angle, because I wanted the feeling of being in the field.
Creating a vintage look isn't hard to do. Three of my recently created textures work quite well for this kind of image.
Creating a selective focus
I wanted a stronger focus on the track, so I decided to apply a Photoshop filter:
lens blur.
I like this filter very much, because you can do amazing things with it.
To achieve a soft blur gradient you first have to copy your background picture and hit the "Q"- key to get a layer mask. Then you have to click on the gradient tool. Make sure to select the "reflected gradient" type. If you draw a short line from left to right on the copied layer, you get a vertical red area (a "mask") which will later be your selection, if you hit the"Q- key" again.
Just try until you achieve a mask that covers the area you want to have blurred.
To apply the blur to your selection go to Filter - blur - lens blur. I usually choose octagonal and play around with the radius setting, everything else I usually leave at "0".
Here's a before & after:
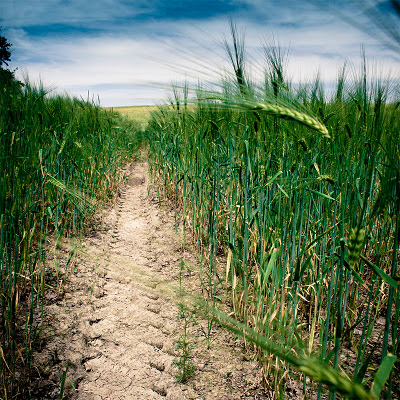 |
| Version without blur |
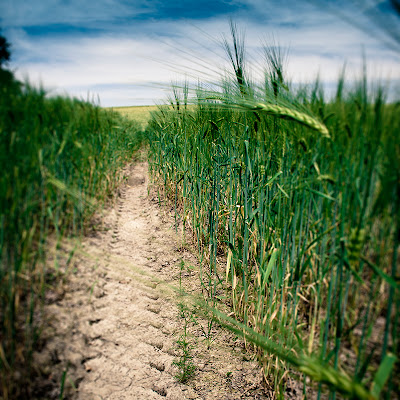 |
| With lens blur filter |
Vintage look with textures
I used three of my new textures for this:
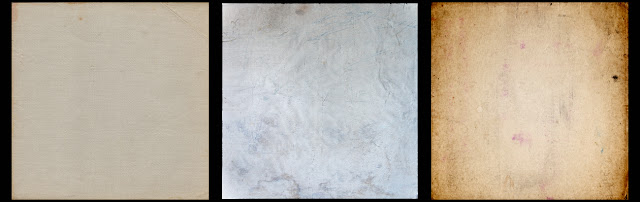 |
| 1. light fabric / 2. light grunge / 3. backside paper |
Here is a screen shot of the layer settings that shows you how I applied the textures. I also hope this makes it easier for you to follow my work flow.
Of course you can always play around with the layer settings and blending modes to get the look that you like. I played around for a while - added textures, didn't like them and erased them again later - and tried different blending modes. Working with textures has a lot to do with trying things out
(Which for me is a big part of the fun)
I like to use a dark blue layer to change the appearance of the colours. At this setting the effect is that white becomes a light yellow tint and the blacks a light blue one.
Here is the final result:
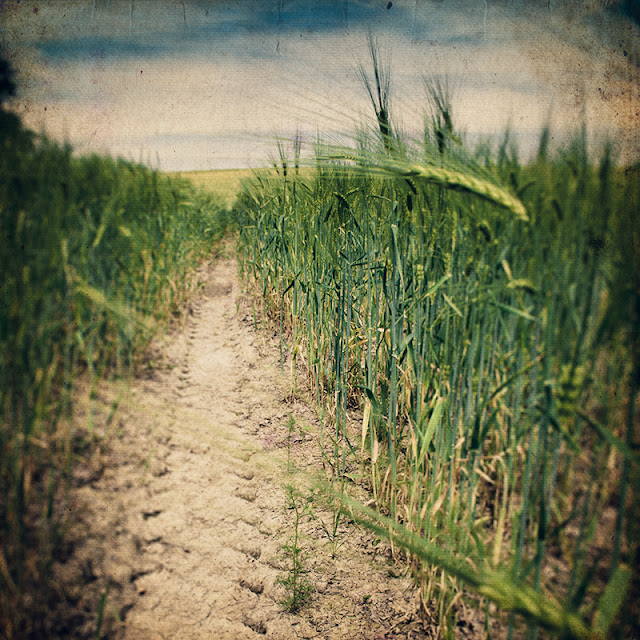 |
| Field Track |
|
|
Have a great weekend!
If you have questions or suggestions please don't hesitate to ask!
Thanks
Dirk


Comments
Post a Comment