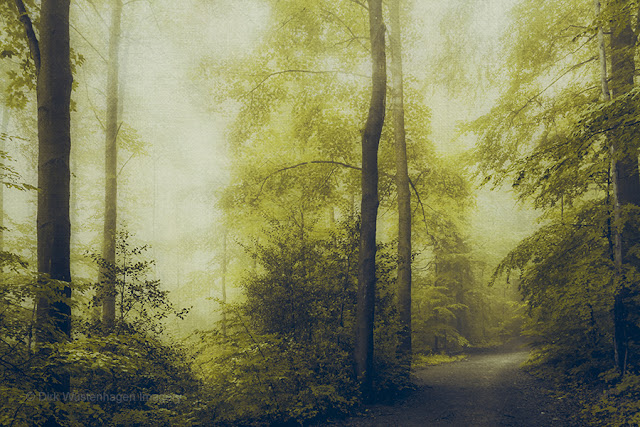
Featured

Winter Edit With Texture Overlays in Luminar Neo Including Two Free Textures

 Last January we had some days with snow and people were rushing out to have some fun with it before all melted away, which is often the case were I live. I took my camera and went out into the falling snow and saw some people from my neighbourhood with their kid sleighing down a small hill nearby.  Here is the finished edit of the scenery: Enjoying A Winter Day RAW - Edit in Luminar Unedited RAW Image -  I started with the Enhance AI tool. I set the Accent AI value to 32 which was enough and brought out lights and contrasts, which I found helpful with this monotone snowy image. -   I changed into the Develop module where I enhanced the Exposure always keeping an eye on the Histogram because with snow you quickly run into burned out highlights.  - I also decreased the Highlight a bit and added more blacks. Especially reducing the lights is helpful, because I found that blend modes such as Overlay and Soft Light work better when editing with texture overla...

Adding mood & fog with textures

Hello,
today a short post on how I sometimes enhance and intensify an already misty scenery and how I added/ enhanced the picture's atmosphere.
Using textures is again a very simple way to achieve this.

Here's the final result:

Stranger in the Fog


And this is the picture I started with:


Original SOOC


I used two textures from my latest pack. One is a mixture of a cloudy sky and a wall, the other one has a green wood structure:

  
Overcast

Green Bench


And here's how I used them in Photoshop:


Though the graphic suggests something different, I first added the cloud layer and was immediately satisfied with the result, because the fog became much more intense.
I wanted the whole picture to be a bit more spooky, so I decided to add a green texture. I also wanted to lessen the contrast between the green grass and the soft foggy part of the image.
The first green texture layer added structure to the picture, but did not so much with regards to the fog's colour, which appeared to be still very white. So I copied the layer and turned the blending mode to "Darken" which satisfied me, because the fog became a cool green glow. Unfortunately there was too much of the structure now. The solution was to blur this layer using Gaussian blur at 50% and I was close to my desired outcome.

Minor additions were:

- darkening the edges of the picture with a curves layer
- lighten up the fog by adjusting the levels
- finally I wanted to have a lighter green, which I achieved by extracting black out of the yellow          colour  with a Selective colour adjustment layer.

Now I had the picture that gave a quite good recollection of the mood I encountered on that early September morning at the river.

Thanks for reading!


Comments

  1. Anonymous14:28

    Thanks so much for sharing your recipe! The outcome is truely remarkable!! Beautiful work, Dirk! ~Kcam12

    ReplyDelete

Post a Comment