Featured

How To Create Minimalistic Landscapes Using Blur Filters in Photoshop

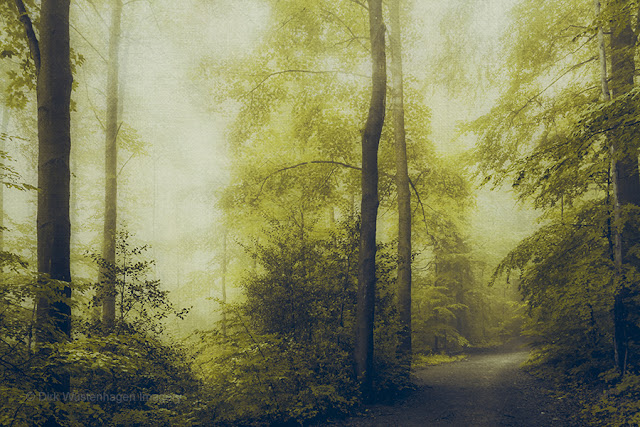
 For at least 10 - 15 years I love creating abstract minimalistic landscapes such as beach and forest scenes in my post processing of photos using a range of Photoshop's blur filters.  Here's one of my latest images that features this (and other) techniques: The original photo was taken almost 15 years ago with a 7 megapixel Canon Camera, but I wanted to challenge myself and try to make more interesting image out of it.  Start I came across this image while browsing through my photo archive and kind of liked the scene with the woman enjoying standing in or close to the surf. Editing Steps 1. I expanded the image from its 4:3 ratio to a square format making the added part transparent. Then I selected the blue sky and erased it. As I knew I wanted to create an abstract image I searched for a cloudy sky and found a suitable photo in my library, that would make a more interesting sky than a bland blue one.   I positioned this sky a layer under the beach photo and go...
Making Silent Running - updated 2019

Hello,
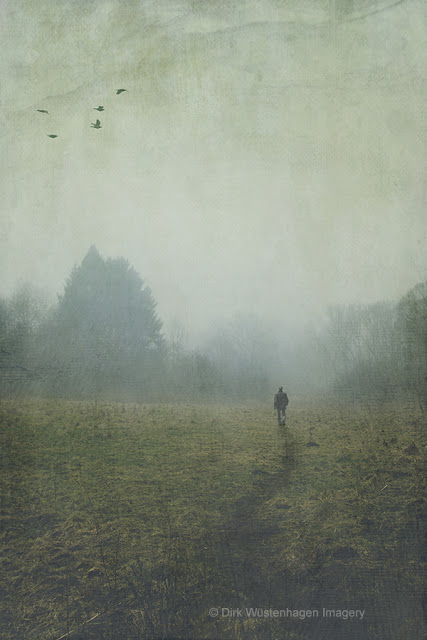
today I'd wanted to show you how I processed the image "Silent Running".


Silent Running


Layer by layer progress video


Processing

As so often with my images this is a misty autumn scenery with tree silhouettes and birds and myself running. Birds and the image of myself I added in post.

I chose textures that are more or less in the colour range of the original image. 
The first two textures worked fine without using blend if, but the foreground was too dark so I decided to lighten it a bit with another light green texture.

Instead of erasing parts of the texture or using a layer mask I decided to protect the light parts of the sky against getting too bright by using the BLEND IF option of the advanced blending section. It is quite easy to get subtle transitions from darker to lighter tones. Please see the screenshot and description for details.


Layers


Blend if - the use of the advanced blend mode "Blend if" is indicated by the two overlapping squares on the right side of the panel. 

The texture Downing I used on this layer is a very strong texture, that was overpowering the subtle fog parts of my image, so I thought that I had to reduce the effect and decided to use "blend if".
How does it work? 


I had to reduce the effect on the lighter parts of the picture, which are situated under the current texture layer, therefore the second option is the right one. If you only slide the small triangle on the right side, you will get a very harsh result. To achieve a gradual transition you have to press and hold the alt/option key and click on the triangle, you can then move its parts in any direction you like and get a subtle effect.

As always - play around a bit until you are satisfied with the result.

Blend if is a quite powerful toll and useful in many ways. I guess I will come back to this in another tutorial.

If you have any questions please ask in the comments!
Would love, if you share this post!

You can find these textures on Creative Market HERE and on my website HERE

Thanks for your attention.
Dirk


Comments