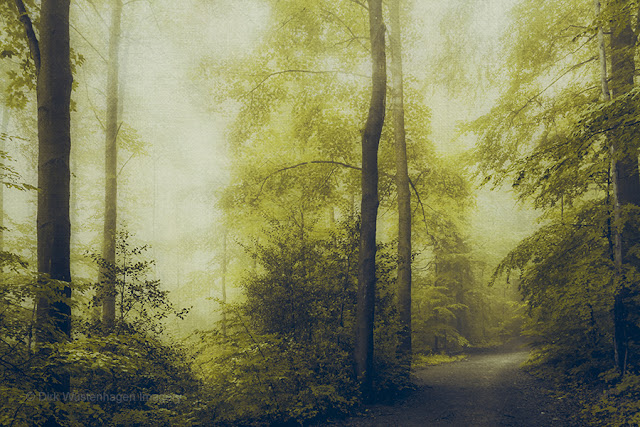
How To Create Minimalistic Landscapes Using Blur Filters in Photoshop
For at least 10 - 15 years I love creating abstract minimalistic landscapes such as beach and forest scenes in my post processing of photos using a range of Photoshop's blur filters. Here's one of my latest images that features this (and other) techniques: The original photo was taken almost 15 years ago with a 7 megapixel Canon Camera, but I wanted to challenge myself and try to make more interesting image out of it. Start I came across this image while browsing through my photo archive and kind of liked the scene with the woman enjoying standing in or close to the surf. Editing Steps 1. I expanded the image from its 4:3 ratio to a square format making the added part transparent. Then I selected the blue sky and erased it. As I knew I wanted to create an abstract image I searched for a cloudy sky and found a suitable photo in my library, that would make a more interesting sky than a bland blue one. I positioned this sky a layer under the beach photo and go...


Comments
Post a Comment