Hello,
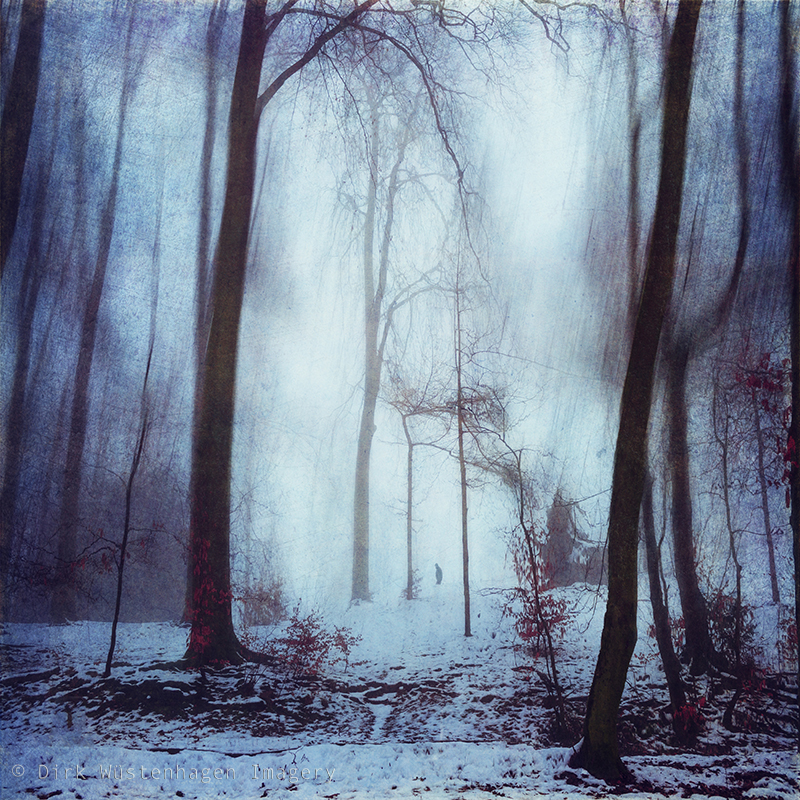
today I wanted to present a picture that I really liked from the beginning, but that I had great difficulties to process. I took several attempts on several levels of the processing to achieve the final look and feeling of the picture.
Here is the final result:
 |
| Carry On |
Recently I love playing around with / processing winter images, I especially love cool blue tones in combination with red or orange leaves. The above picture features less red leaves, but another component that I like: a solitary person passing by. This always adds something mysterious and kind of tells a story.
The Start - Lightroom
I started with this picture -
 |
| Carry On raw |
As you can see it i nothing too special about this picture, but still I liked the overall atmosphere of this misty dark winter afternoon. I also had the feeling that this might be not so easy, because the many trees and elements would make it hard to focus on the little person.
Next I chose one of the Lightroom presets I made for snowy sceneries and tweaked the result to finally get tones I liked:
 |
| Carry On LR |
I thought this is something that I could build upon and loaded this into Photoshop and started applying textures, but the results weren't satisfying - I found them to cluttered and without appeal.
Processing in Photoshop
Content Aware Scale
After my vain attempts to texturize this picture I thought I try the Content Aware Scale tool of Photoshop CC and see what would happen with the picture. I extended the canvas size to a square and placed the original picture at the bottom of the canvas. Then I simply dragged the upper end upwards and got this -
I liked the result, though some parts were a bit out of scale but I thought I could live with that.
I was interested in the middle part of the picture, especially the lone walker. I decided to use a PS filter /Lens Blur) to blur the edges left and right of he picture.
Additionally I added a motion blur of 230px. The picture was now pretty blurry, but I had planned to erase parts of it using a clipping mask to bring back some detail. Please see Layers for reference.
The picture
now looked like this:
I finally had a picture that I could build upon.
Processing with textures
I chose three textures Friction had some vertical scratches that I liked and helped to darken the blurred edges of the picture to direst the viewers eyes to the middle of the image.
deKonstrukt added some color variety and subtle patterns that I liked and Grotto Azul further enhanced the blue hues.
You'll find the textures here:
Mixed Specialties and here
Vintage Film and Photography
Finally I worked a bit on the colors and the contrast and Carry On was ready to be published.
Thanks for reading,
Dirk


Comments
Post a Comment