Hello,
I admit it - I have been lame and lazy concerning new blog posts. Today I am back with a new pack of handmade fine art textures, that were inspired by skies and summer colors. I decided to create some textures that can easily be used to spice up a dull white or blue cloudless sky.
So this is an addition to the post on
texturizing negative space.
I love fair weather and can appreciate a cloudless sky, but unfortunately they leave me with a rather uninspiring empty space too often.
All the following pics were processed using a texture from the new pack or from the last one (Soft grunge texture bag). This is the new one:
 |
| dreamy skies & summer colors / 22.90€ /app. 28 US$ |
I have prepared a few examples to show you how these textures can be used with "empty skies". To see the difference you only have to move your mouse over the picture to see the un-processed version of the picture.
Picture 1
 |
| Bird Line |
 |
| Bird Line Layers |
I wasn't satisfied with the tinted background, so I decided to convert it into b&w. Adding the "Mint Sky - texture immediately turned it into a more interesting pic. Adding the free Shout- texture gave a nice soft grunge appearance as well as a light yellow tint. This yellow tint I decided to enhance with layer of a dark blue color. I like how the blending mode "Exclusion" makes the light tones more yellow while turning the dark ones slightly blue.
You can down load the shout texture here: SHOUT Texture
Picture 2 |
 |
| Quiete Land |
Picture 3
 |
| Rural Cliche |
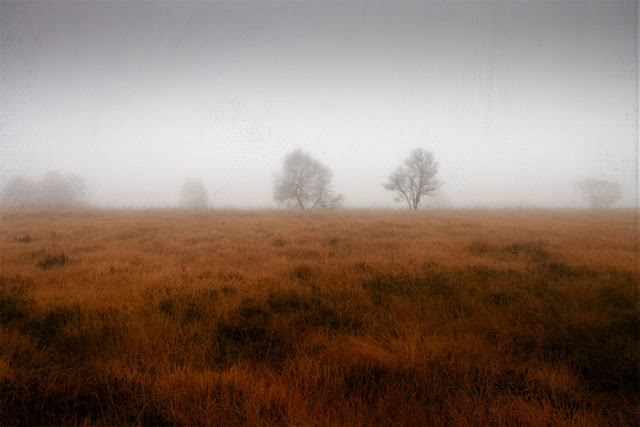
OK, this is a rather heavily textured photo, but I liked the result. That way I got a more balanced picture, I thought. But I leave that to your taste....
Finally one more subtle processing:
These are the two lighthouses in the volcanic south of La Palma, Canary Islands. The red & white one is still in operation, while the older and smaller one now serves as a little museum. We were there on a very clear and windy day. I chose a texture to spice up the sky a little bit. It was a fairly easy processing. I only had to straighten the lighthouses a little bit, because of the wide angle I used they were inclined to the left side. Then it was only one texture that I copied and the photo was done.
|
 |
| Faros de Fuencaliente, La Palma, Canary Islands |
|
Thanks for your interest. I I try to be back with a new post sooner the next time.


Comments
Post a Comment