Hello,
I read through this old post again and added some points that make the whole thing clearer.
I thought of pointing out some important points one has to think of when texturing photos and give away some tips that help you texturing photos (hopefully!)
If you follow these steps/tips, you might minimise disappointing texturing results.
1. Process your source pictures
I always process any picture that might become a later candidate for texturing. The picture should stand on its own. It is not worth while trying to improve a weak or bad shot by using a texture. You should aim at turning a good picture into a unique and special one. Processing the picture also helps me to develop a vision of the final result.
In this picture I used a perfectly processed uncropped b&w version, before I started working with it.
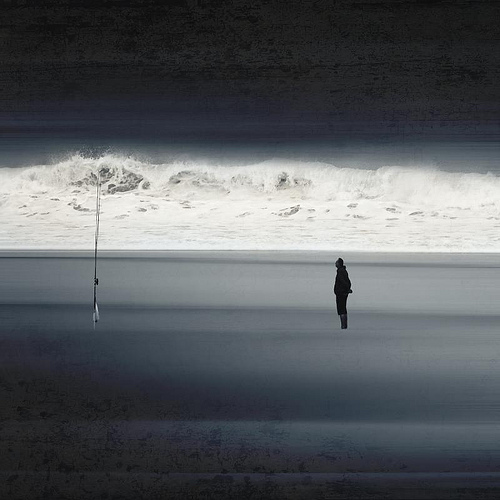 |
| Man & Wave |
|
2. Choice of texture(s)
Once you have an idea of the final result, it is much easier to chose a texture. At least it helps me to narrow down the number of trials. Do I want to make a sky darker by using a texture? Maybe applying a texture that has a gradient to do so? Do I want to make an empty space more interesting by subtly texturing it? Do I want an overall grungy look? Do I want a painterly look? Am I going for vintage colours?
These are some of the questions that help chosing a texture.
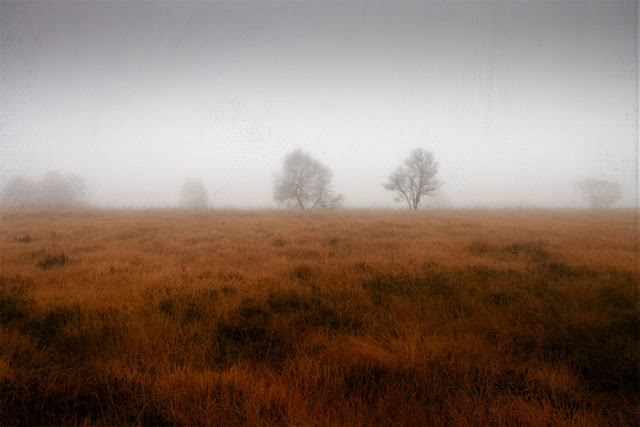
In the above picture I only wanted a subtle texture that is visible in the dark parts of the picture.You can either achieve this by subtly erasing the texture in the lighter parts of the image or using a texture mask and paint in black colour a low opacity/fill settings.
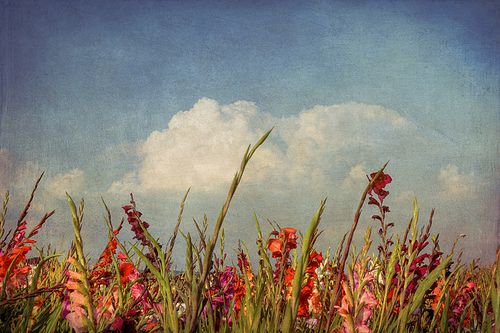 |
| Example painterly look |
3. Size of texture
Make sure that the texture you use has a printable size. It is not worth while using a low resolution texture on a full size picture. You might not see it on Facebook or Instagram in low resolution, but if you want to make prints or even sell your work, you should always take a high resolution file (> 3000 px)
Resize the texture, but don't blow it up to more than 150% of its original size.
4. Working with layers in your software
You have to make yourself familiar with layers and masks in Photoshop or other processing software such as Affinity Photo and Gimp.
If you work with Photoshop, PS Elements or Affinity Photo you know what I am talking about. You should also think about experimenting with the "blend if" settings in the "advanced blending" section of Photoshop. Especially the "underlying layer" sliders can help you to control blending darker or lighter parts.
If you want to achieve a
soft look (flowers, faces) you should chose a fine texture with light colours and set the blending mode to Screen, Overlay or Soft Light at a low opacity (30%) to start with
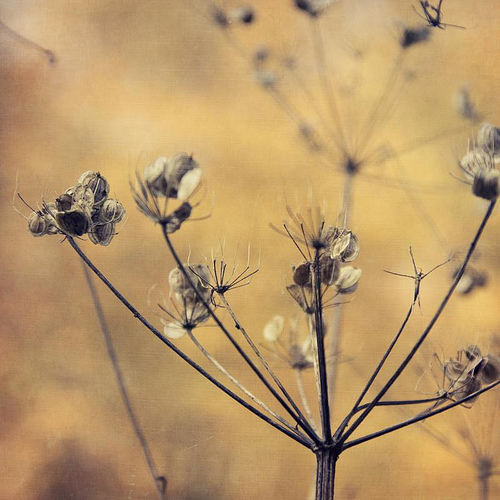 |
| Example for a soft look |
Do want to have a
grungy or dramatic look take a strong texture and use Hard Light at low opacity.
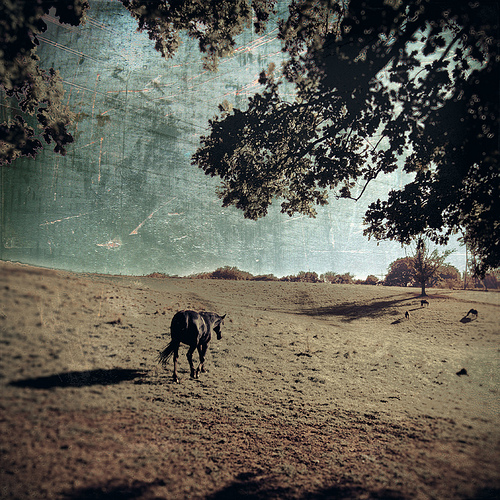 |
| Example grunge look |
Applying textures to images has a lot to do with experimenting. If you don't get good results, stop it and take another look at it a day later...
Don't overuse textures, always consider whether it will do any good to your picture. (I cannot count the times I had to restrain myself from doing too much, I think I failed many times....)
5. Alter the texture
You should work with/on the texture. If the colour isn't right but the structure is - change the colour, make it lighter or darker. Play around!
Delete parts of the texture that do not fit the picture, e.g. use a layer mask to erase parts that are not important. (see layers)
If you want to keep the colour of the texture, but you don't want the structure select the part of the texture and blur it.
Have a look at the layers of my picture "Man & Wave" After working on the colours and adding the blur I added the textures. From the first texture I almost erased 3/4 of the middle part, so that it is only visible in the dark parts of the picture. The Light Grunge texture was used subtly in all parts but the wave.
Hope I could help you get started with using textures. Next I want to give some tips creating your own textures.
Do you have further questions?
Please put them in the comments section!
If you like this post please share it!!
Thank you


Merci d'avance pour cette réalisation et je vous en remercie .
ReplyDeleteNovice en la matière , j'espère qu'elle pourra m'aider et me donner des ailes pour commencer une nouvelle vie : la passion de l'art photographique que je découvre à peine . Étant en invalidité permanente , je dois continuer a m'occuper et je suis intéressée par la photographie depuis toute petite et ayant fait des études d'infirmières , cela n'a rien de comparable mais qui m'empêche de quand-même essayer . Amicalement Catherine qui vous soutient pour votre travail .
Thank you so much for writing the tips. I think I'm understanding all of it except the variation in the numbers for Fill. I understand reducing the amount of Opacity of a layer, but what does changing the amount of Fill do for the image? Thanks for being so generous in sharing your beautiful work and your process.
ReplyDelete