Featured

Winter Edit With Texture Overlays in Luminar Neo Including Two Free Textures

 Last January we had some days with snow and people were rushing out to have some fun with it before all melted away, which is often the case were I live. I took my camera and went out into the falling snow and saw some people from my neighbourhood with their kid sleighing down a small hill nearby.  Here is the finished edit of the scenery: Enjoying A Winter Day RAW - Edit in Luminar Unedited RAW Image -  I started with the Enhance AI tool. I set the Accent AI value to 32 which was enough and brought out lights and contrasts, which I found helpful with this monotone snowy image. -   I changed into the Develop module where I enhanced the Exposure always keeping an eye on the Histogram because with snow you quickly run into burned out highlights.  - I also decreased the Highlight a bit and added more blacks. Especially reducing the lights is helpful, because I found that blend modes such as Overlay and Soft Light work better when editing with texture overla...

Winter Texture - the gift of snow

Hello,

I hope you all had a wonderful Christmas & will have a wonderful creative year 2012!!

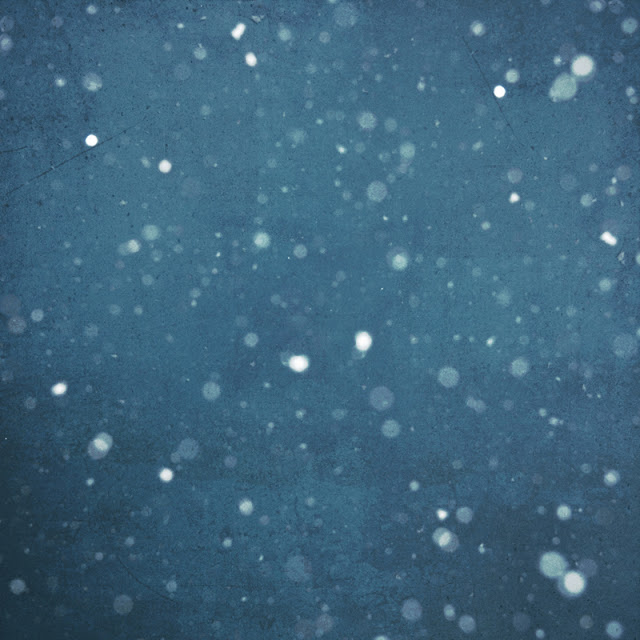
I want to finish this year with a another free texture. It is called "The Gift of Snow".
It hasn't been snowing this Winter so far, so I had to rely on some pictures from last year when I made the texture.

The Gift of Snow
Download The Gift of Snow


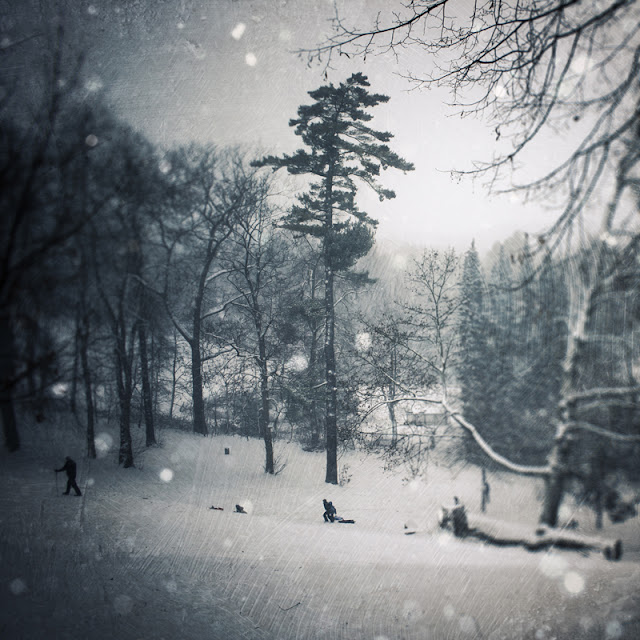
I used the texture on this picture ( and I am planning to use it on a few more....)

Drifting Snow


A few words on the processing:

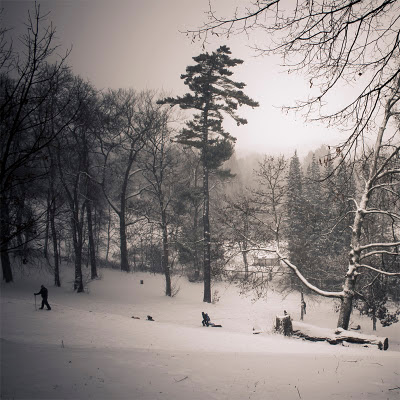
It was actually snowing and there was not much light, so it was an easy decision to change it into a monochrome picture. The conversion and the toning I did in Lightroom. Afterwards I opened the picture in Photoshop.


Drifting Snow Basis


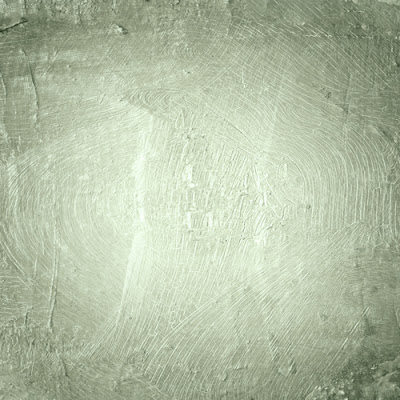
For the finer structures & the painterly style I used this one:

Pale Green Paint


Layers in Photoshop:


There are two things that I want to point out.

1. I wanted a dreamy feel, so I decided to blur the right and the left side of the picture using the lens blur filter.

2. Both textures were quite easy to use, so I think I don't have to explain more on their use. The textures' colours made the picture too cold  and I didn't want to change their colour.
Instead I reduced the blue/green tones with the help of another copy of the basis picture using the color blend mode and finally was happy with the settings shown above.

See you in 2012!!!

Please consider using/purchasing textures from my Build-your-own-texture-pack.

Thanks!


Comments