Hello,
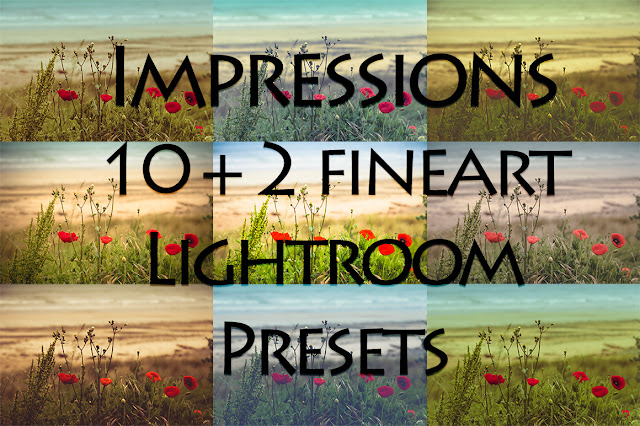
over the past years I have posted many tutorials concentrating on the use of textures. I know, that I often mentioned that I process my images with the help of Adobe Lightroom before I load them into Photoshop to treat them further with textures. I finally have put together my first small set of Lightroom Presets that helps you creating impressionistic painterly images combining these presets with some of my textures.
You can get these in my CreativeMarket shop here:
Impressions Lightroom Presets
Short Tutorial - Making of CANVAS DREAMS
I spent a week in the Normandy, France in May, where I took this shot of red poppies in the dunes with view of the beach. This photo seemed a perfect candidate to show you how to easily create a painterly picture with the help of one of the presets as well as the texture included in this set.
It wasn't a particularly bright day, rather cloudy and windy and the photo turned out as a bit dark.
 |
| Canvas Dreams RAW |
I often process every picture individually without the help of presets, but I just applied several presets I saved rather randomly and found one that gave this pic a nice summer impression. I tweaked it a bit further and the resulting adjustments became my first Impressions preset.
I exported the resulting image to Photoshop. Here's what I looked like:
 |
| Canvas Dreams LR preset |
So, I already had much warmer pic with a bit more contrast clearer midtones - now I had to decide on a texture. I wanted to have a subtle canvas structure. I took one of the textures I hadn't included in my
20 Fine Art Canvas Textures . I added this texture to the preset set to give you the chance to try the effect out.
 |
| Canvas Dreams |
My aim was to add this texture in a way, that it didn't alter the preset's colours too much.
There are a few things to consider to achieve this:
- choose a texture that is rather neutral in tone
- combine blending options. the Luminosity layer added more texture to the background and brighter parts of the image but also made the dark parts paler. So I copied the layer and after some experimenting had a nice looking pic with a Linear Burn layer.
With the help of a Levels layer I made it a tad brighter and added a bit more contrast.
That was all. Hope you found this interesting.
Have a great weekend!
MerkenMerken


Comments
Post a Comment