Hello,
I wanted to show yow how I changed a rather normal photo of a river scene with some fog into a pictureque & painterly work using textures.
Let me start with a before/ after view:
please move mouse over the picture!
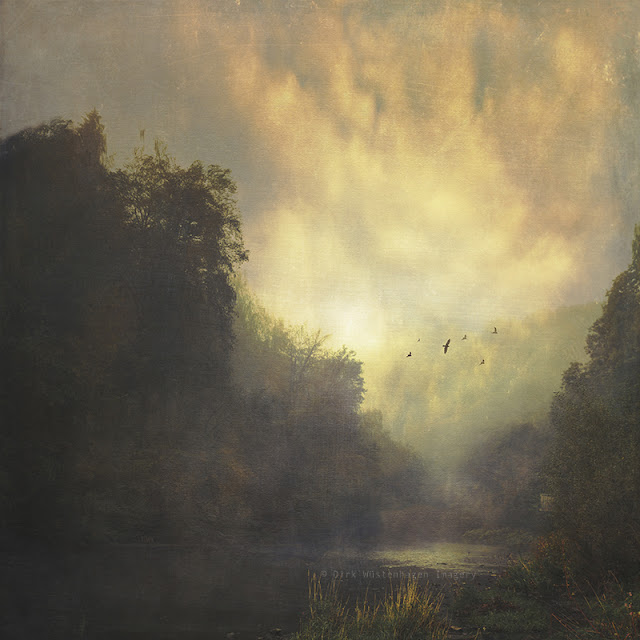 |
| River and Mist |
|
As you can see I have achieved a very painting like look reminding one of dutch or french landscape painters of the 18th and 19th century.
While I was working on this picture it became evident, that I had to control or manipulate the light in this picture. I felt this image offered quite some possibilities to do this, because of the large area of diffuse fog glow in the sky.
I used 5 different textures and they would have made it impossible to achieve this look, if I hadn't erased them in part with the help of layer masks in Photoshop.
Use of layer masks and textures
Please have a look at the processing with and without the layermasks, if you move yor mouse over the image you can see the result with layermasks.
 |
| Before and after layer masks |
|
The light in the sky and on the river and on parts of the forest were darker, there were also more distracting elements of the "Deep Sea Currents" texture visible in the darker parts. By erasing parts of certain textures in the middle of the image I achieved a brighter and more varied light distribution that still appeared to be natura.
Please take a look at the layers
Use and effects of textures:
Deep Sea Currents: added alight blue hue and some subtle brush strokes in the darker areas. I erased most of it in the lighter foggy parts
Foggy Sea - I chose this, because it has a great canvas texture and a metallic glow
Sky Drama - I loved the orange/red tint it added to the greenish mid tones
Rome - wanted to add some clouds & a warmer tone to the sky - erased some of the dark cloud parts in the bright areas of the image
Coffee Clouds - Insentified the yellow tones in the brighter areas
Curves - I always play around with the final light and contrast which let to some
Selective Color adjstments - this is something that varies to personal tastes and is not always necessary.
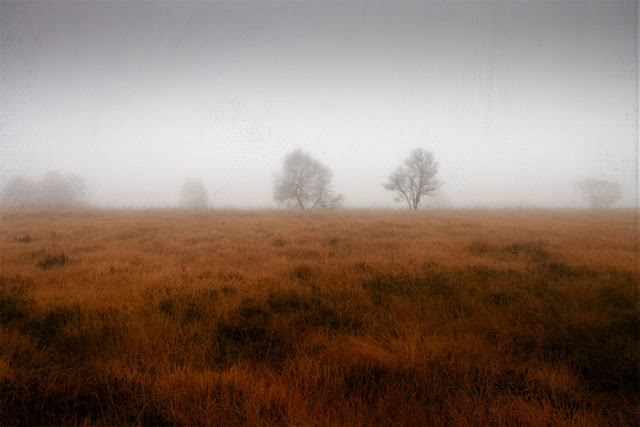
I took these textures from the following two texture collection, that you can find here:
30 Fineart Textures "Spring Promise" and
25 Colorful Textures "Spring Release"
Thanks for reading & have a nice weekend!
Dirk


Comments
Post a Comment