Featured

Luminar Neo - My First Impressions

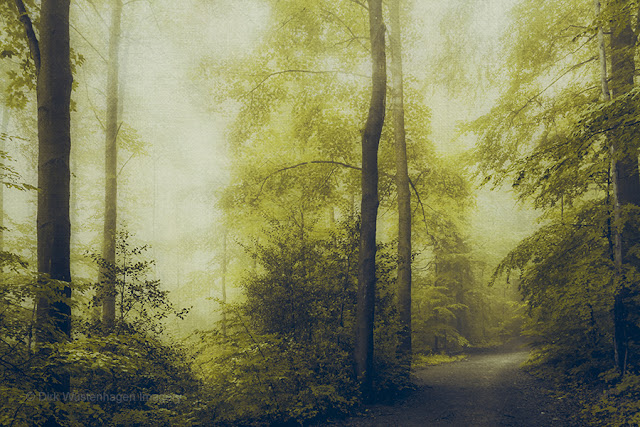
Mystical Woods - move mouse over  for an before / after     In December of last year I was asked whether I'd like to take a look and try out the photo edit software Luminar Neo. So I was provided with the program and the extensions pack. At the moment there are seven extensions available, I installed four of them that I thought could be useful in my workflow. These are Noiseless Ai, Upscale Ai, Supersharp Ai and Magic Light Ai.  Until I was asked to try Luminar Neo, I had not heard of the program, but the opportunity to partner with Skylum and make some additional money convinced me to take a look. That means: This text contains affiliate links. What is Luminar Neo? Skylum's Luminar Neo is a photo editing tool that makes editing your photos quite simple. Many of its features are enhanced by artificial intelligence that lead to sometimes stunning results and are intuitive and easy to use. LUMINAR NEO - special offer until 28 February 2023 Lightroom and Photoshop plugin I almo

Work in Progress: Creating a new texture III

Hello,

it's been some time since I wrote something about creating my textures. A friend of mine, who is an abstract painter invited me to join one of his classes and I gladly accepted the invitation to learn a bit about working with a REAL brush.

I couldn't resist to utilize parts of my works for the creation of new textures, so excerpts of what I painted will show up in future textures...

So far I created about 5 textures that I really like and that work quite well with photos.

So here is one of them:

Negative Paint


I can't go into too much detail of how I finally arrived at this texture, because I think it would become to detailed and too long, but here's some insight into its creation:

Here are the basic photos I used:

1


2


3


4


So how did I arrive at the texture?
I started with picture 2. Its very grungy surface was the starting point and is actually a photo of the workroom floor.

2nd and 3rd layer was picture 3 that I blended with hard light and also rotated by 90° (3rd layer) - it led to some quite nice brush strokes and patterns.

4th and 5th layer consists of picture 3 this time I chose Multiply at a low setting (33%) - that made the whole thing darker and added some nice colors.

6th layer was picture no. 1. I really was curious to see how these letters would fit in. This time Darken (50%) was the best blending mode.

Unfortunately I didn't like the colors too much, so I just added an invert layer and liked the bluish tones much better that you can see now.

Still the resulting texture was much too grungy so I reduced the contrast with curves and worked on the tones in the blue channel.

I also made the whole texture a bit brighter (using Levels) and merged the whole thing to erase irritating parts of the texture. That meant cloning and copying parts as well as using Photoshop's Spot Healing Brush.

So far I am quite satisfied with the new textures. Still don't know when I will make them available though. Stay tuned....and see for yourself:

Processed with Negative Paint & 1 other texture:


You'll find my textures here:

Texture Packs

Thanks & have a nice day!
Dirk

Comments

Popular Posts