Featured

Luminar Neo - My First Impressions

Mystical Woods - move mouse over  for an before / after     In December of last year I was asked whether I'd like to take a look and try out the photo edit software Luminar Neo. So I was provided with the program and the extensions pack. At the moment there are seven extensions available, I installed four of them that I thought could be useful in my workflow. These are Noiseless Ai, Upscale Ai, Supersharp Ai and Magic Light Ai.  Until I was asked to try Luminar Neo, I had not heard of the program, but the opportunity to partner with Skylum and make some additional money convinced me to take a look. That means: This text contains affiliate links. What is Luminar Neo? Skylum's Luminar Neo is a photo editing tool that makes editing your photos quite simple. Many of its features are enhanced by artificial intelligence that lead to sometimes stunning results and are intuitive and easy to use. LUMINAR NEO - special offer until 28 February 2023 Lightroom and Photoshop plugin I almo

Making of Ever Changing Light / new textures & freebie

Good Day,

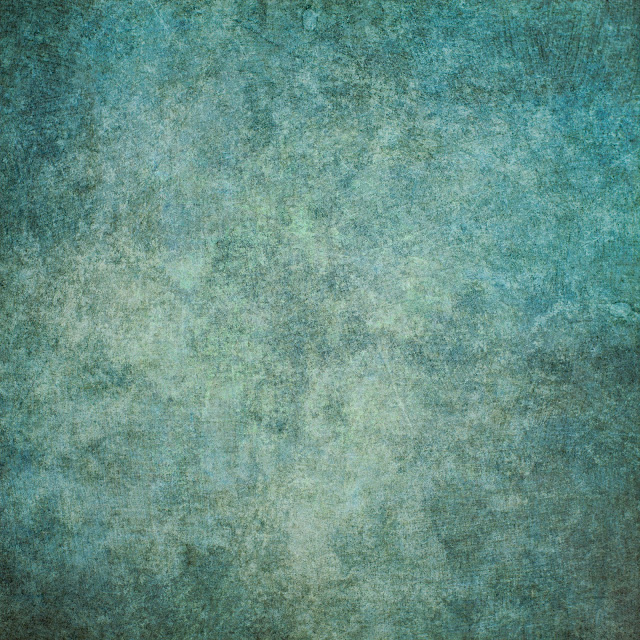
it went through my vast collection of unedited and yet not published textures and put together a small collection of green textures. These are now on sale on my


I often use greenish textures on my fog photographs, they add a great mystic tone and atmosphere .

I used several of these textures on this shot:


Ever changing Lights

Making of

I loaded the image I processed in Lightroom into Photoshop and started adding textures.
Usually I play around a lot to see what kind of effect the textures have on the image. With soft foggy landscapes one has to be a bit careful, because  you can easily overpower the picture with the texture. I often start with a texture that I think should serve as the main ingredient in Multiply blend mode and later add other textures to lighten things up in Overlay or Soft Light mode.
If this doesn't work I shift the textures around change the blending modes or use different textures.

Here is a screenshot of the final layer order:

Layers Ever changing Lights
I wanted to have a nice color contrast between the various green hues and the orange/ red leaves. There are several ways to recover/enhance the red tones:

1. I could have used a clipping mask to erase some of the textures that weakened the red tones, but I wanted the textures on the hole picture
2. I could have added a new layer and paint some red on the leaves, but that takes time and sometimes doesn't look so good.
or 3. try to get the red back by adjusting the red tones with the help of the Selective Colors and Saturation tools, which I did.

As usual I made some contrast and brightness adjustments with the last layer, in this case using curves.


Free Texture
You can download a 2000 x 2000 px version by clicking on the picture or on the link underneath!

Aus Free textures

I hope you create great pictures with this freebie ( & with the new green textures from the shop ;-))
If you have any questions sent me an email!
have a nice weekend,
Dirk

Comments

Popular Posts